The Italian sound
Second part of the series dedicated to the discovery of a luthier's work. In this blogpost, Daniel Hoffman takes you step by step through the whole instrument-creating process. If you missed Part I, have a look HERE.
The steps or method used to construct an instrument depend entirely on the "school" of the model being made. Since my personal interest is in the Italian sound of 1550-1750 I use the methods employed by the three leading schools of that era - Brescia, Cremona and Venice. The Cremonese method almost always involved the use of an inside form or mold as introduced by Andrea Amati. The Brescians, on the other hand, rarely used a mold or even corner blocks in their very loose and free hand style of making. The makers of Venice were known for their particular varnish and the huge variety of models employed.
The Cremonese fashion
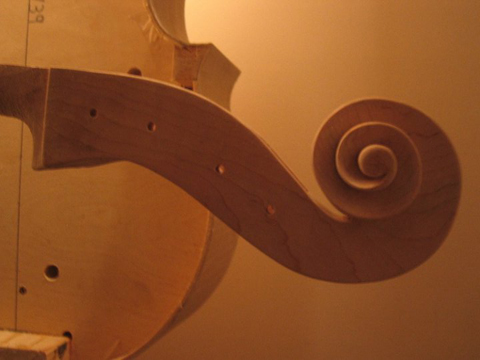
In short, I carve the peghead and neckheel first, while I'm bending the sides around an inside mold that has the cornerblocks glued into it and already carved to shape. Linings are added to the top and back edges of the sides and mitered into the corner blocks in the Cremonese fashion. I will then mount the neck onto the ribs (sides) while the mold is still in place, align it by eye and glue it in place. By this time I will have prepared the wood for the back and roughly removed the excess bulk (the wood that has no music in it). I will then lay the side /neck assembly onto the flatted inner surface of the back, centering it, and make a mark on the back using the sides as a guide. I will then remove the excess around the edges, leaving a generous overhang.
I then proceed to carve the outside and inside arches and graduate the back to near completion. I then remove the mold from the sides, freeing the glued corner and end blocks and gently sliding the sides off the mold. I then lay the freed sides onto the inside edge of the nearly finished back, aligning it with the scribed mark and begin gluing and clamping from the bottom bout upward. Once I reach the upper corners, I pause and attach a thread from a centerline marked on the neck to the centerjoint on the tailblock of the instrument. I then, and only then, align the neck, apply glue and clamp the upper bouts to the back. At this point I have the neck, sides and back assembled and that's when I turn my attention to the top, or the heart of the instrument itself.
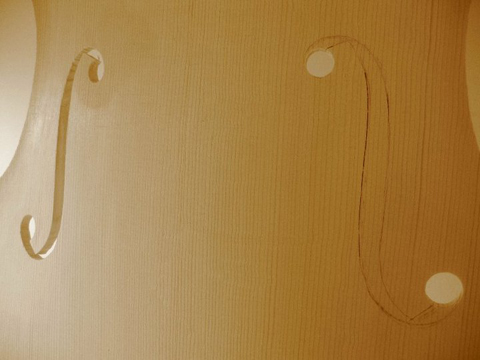
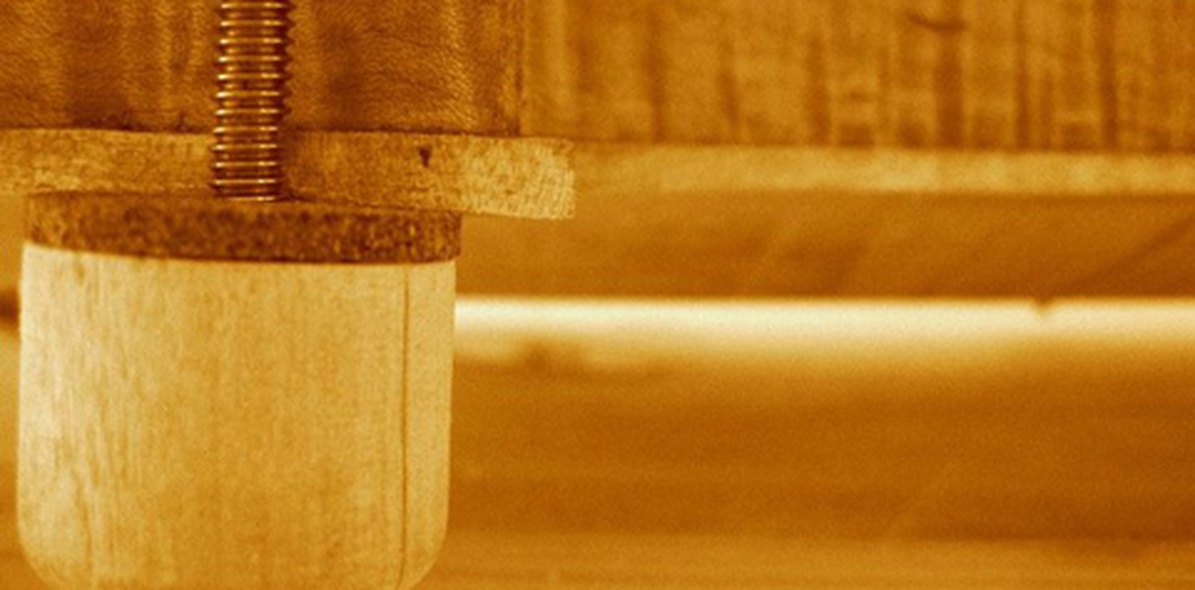
I select two pieces of spruce for the top (not necessarily the same tree) glue them together in the center and gently lay the topwood on the back/Neck/Sides assembly, after cutting a small pocket for the neck heel to fit in. As with the back, I will then scribe around the outside edge of the sides making a mark on the underside of the edge. I then begin carving the outside contours, and hollowing out from the inside alternately. Before completely finishing the thicknesses (graduations) on the inside I will mark out the position of the F Holes from the outside and drill the upper and lower eyes. I will then cut the arms and wings with a very sharp but very thin knife, more or less freehand, but not cutting all the way through. I then complete the graduations of the top from the inside, open the arms and wings of the F Holes, and then position, glue in and carve to shape the bassbar to its finished proportions. What I have left at this point is the purfling (the black white black wood inlay around the edges that acts as a hinge to allow the top and back to vibrate freely as well as a means of sealing the edges of the plates to keep them from absorbing moisture) and the edgework.
...these asymetries are part and parcel to the Italian sound...
Without the top attached the body of the instrument will lie flat on the work surface and I will cut the channel and inlay the purfling into the back and finish the edgework there. Because the mold has been removed the top edge of the sides will often relax and seek its own outline as distinct from that of the back. I welcome any and all of these asymetries since I feel they are part and parcel to the Italian sound. I then lay the nearly finished top with its generous overhang on the body and finish fit it to the sides, then I trim off the excess edge so that the overhang is even all around regardless of whether its symetrical or not, and then insert the purfling into the top plate. The top is then glued on to the body with a light coat of glue since very often I will want to remove the top to do some fine tuning of the bassbar or graduations in the instruments first few months as a musical tool.
If I want my cellos to sound like Montaganas, I must not only copy his model but emulate his method of construction as well.
So yes, the sequence of steps is essential to creating the desired sound, and although many luthiers throughtout the 18th and 19th Centuries from the French, German, and English schools copied Stradivari and Amati stylistically they would remain true to their own particular sequence and school of making and in so doing never really achieve a Cremonese or Venician sound.
If I want my cellos to sound like Montaganas, I must not only copy his model but emulate his method of construction as well. I take every opportunity I have to examine these masterpieces of Ruggeri, Guarneri and Stradivari mapping the toolmarks, proportions and varnish textures ...the clues, still evident even after 300 years. Working swiftly, loosely, but with a confidence made possible only by superlative eye-hand coordination, these artisans from da Saló to Del Gesú all shared a profound intuition of how to work wood.
Read Part I: “It sounds like bittersweet dark chocolate”
Read Part III: What does it sound like?